Quick electric skateboard build
17 October 2017A friend and I recently decided to get electric longboards. Except most of them suck or are pretty expensive.
We figured maybe the DIY route wouldn’t be too hard and we could make something pretty sweet.
I wanted to make mine by converting an existing longboard that I already had. That way I’d only need to get the electronics and figure out a way to connect the motor to the wheel. I also kind of optimized for making things easy and didn’t want to spend a ton of time on this.
The electronics
The electronics are the easy part. You just need a motor, battery, speed controller, RF receiver, and remote. All of these are commodity RC “vehicle” components. I choose the following parts.
- Motor
- This has turned out pretty well, very powerful and robust. I chose a 380 KV motor which works out to a 20-30 miles/hr top speed at a 3:1 gear reduction. It’s also small enough to fit under the skateboard deck.
- Speed
controller
- Works fine and doesn’t come close to overheating. Don’t need the fan the comes with it. Can source up to 120A which is important to keep up with the motor’s capability. I wish the programming options for the controller were better. There’s just a simple programming card.
- RF receiver + remote
- I choose the cheapest thing. I couldn’t really find a good “small” RF/TX remote kit. I’ll probably redo the case/handle form factor at some point.
- Battery
- Large capacity and discharge capability. Also thin enough for skateboard.
The mechanics
This was definitely the hard part. At first I thought it would be easy if I just used a “all in one” hardware kit on Ebay. But they didn’t really fit my skateboard trucks well and were really hard to get aligned with the wheel correctly. It was also really tough to get the custom pulley centered on the wheel and bolted in. And when I did get it bolted in, it wasn’t perfectly centered and it was non-trivial to fix.
I decided to custom make the parts to fit my trucks and wheels. I’d need a custom bracket to fit the motor onto the trucks and a custom pulley to attach to the wheel. I’m not experienced with machining and don’t have easy access to machining equipment but I do have a 3D printer. I decided to try making 3D printed nylon parts. Nylon is really tough, so maybe it’ll work well.
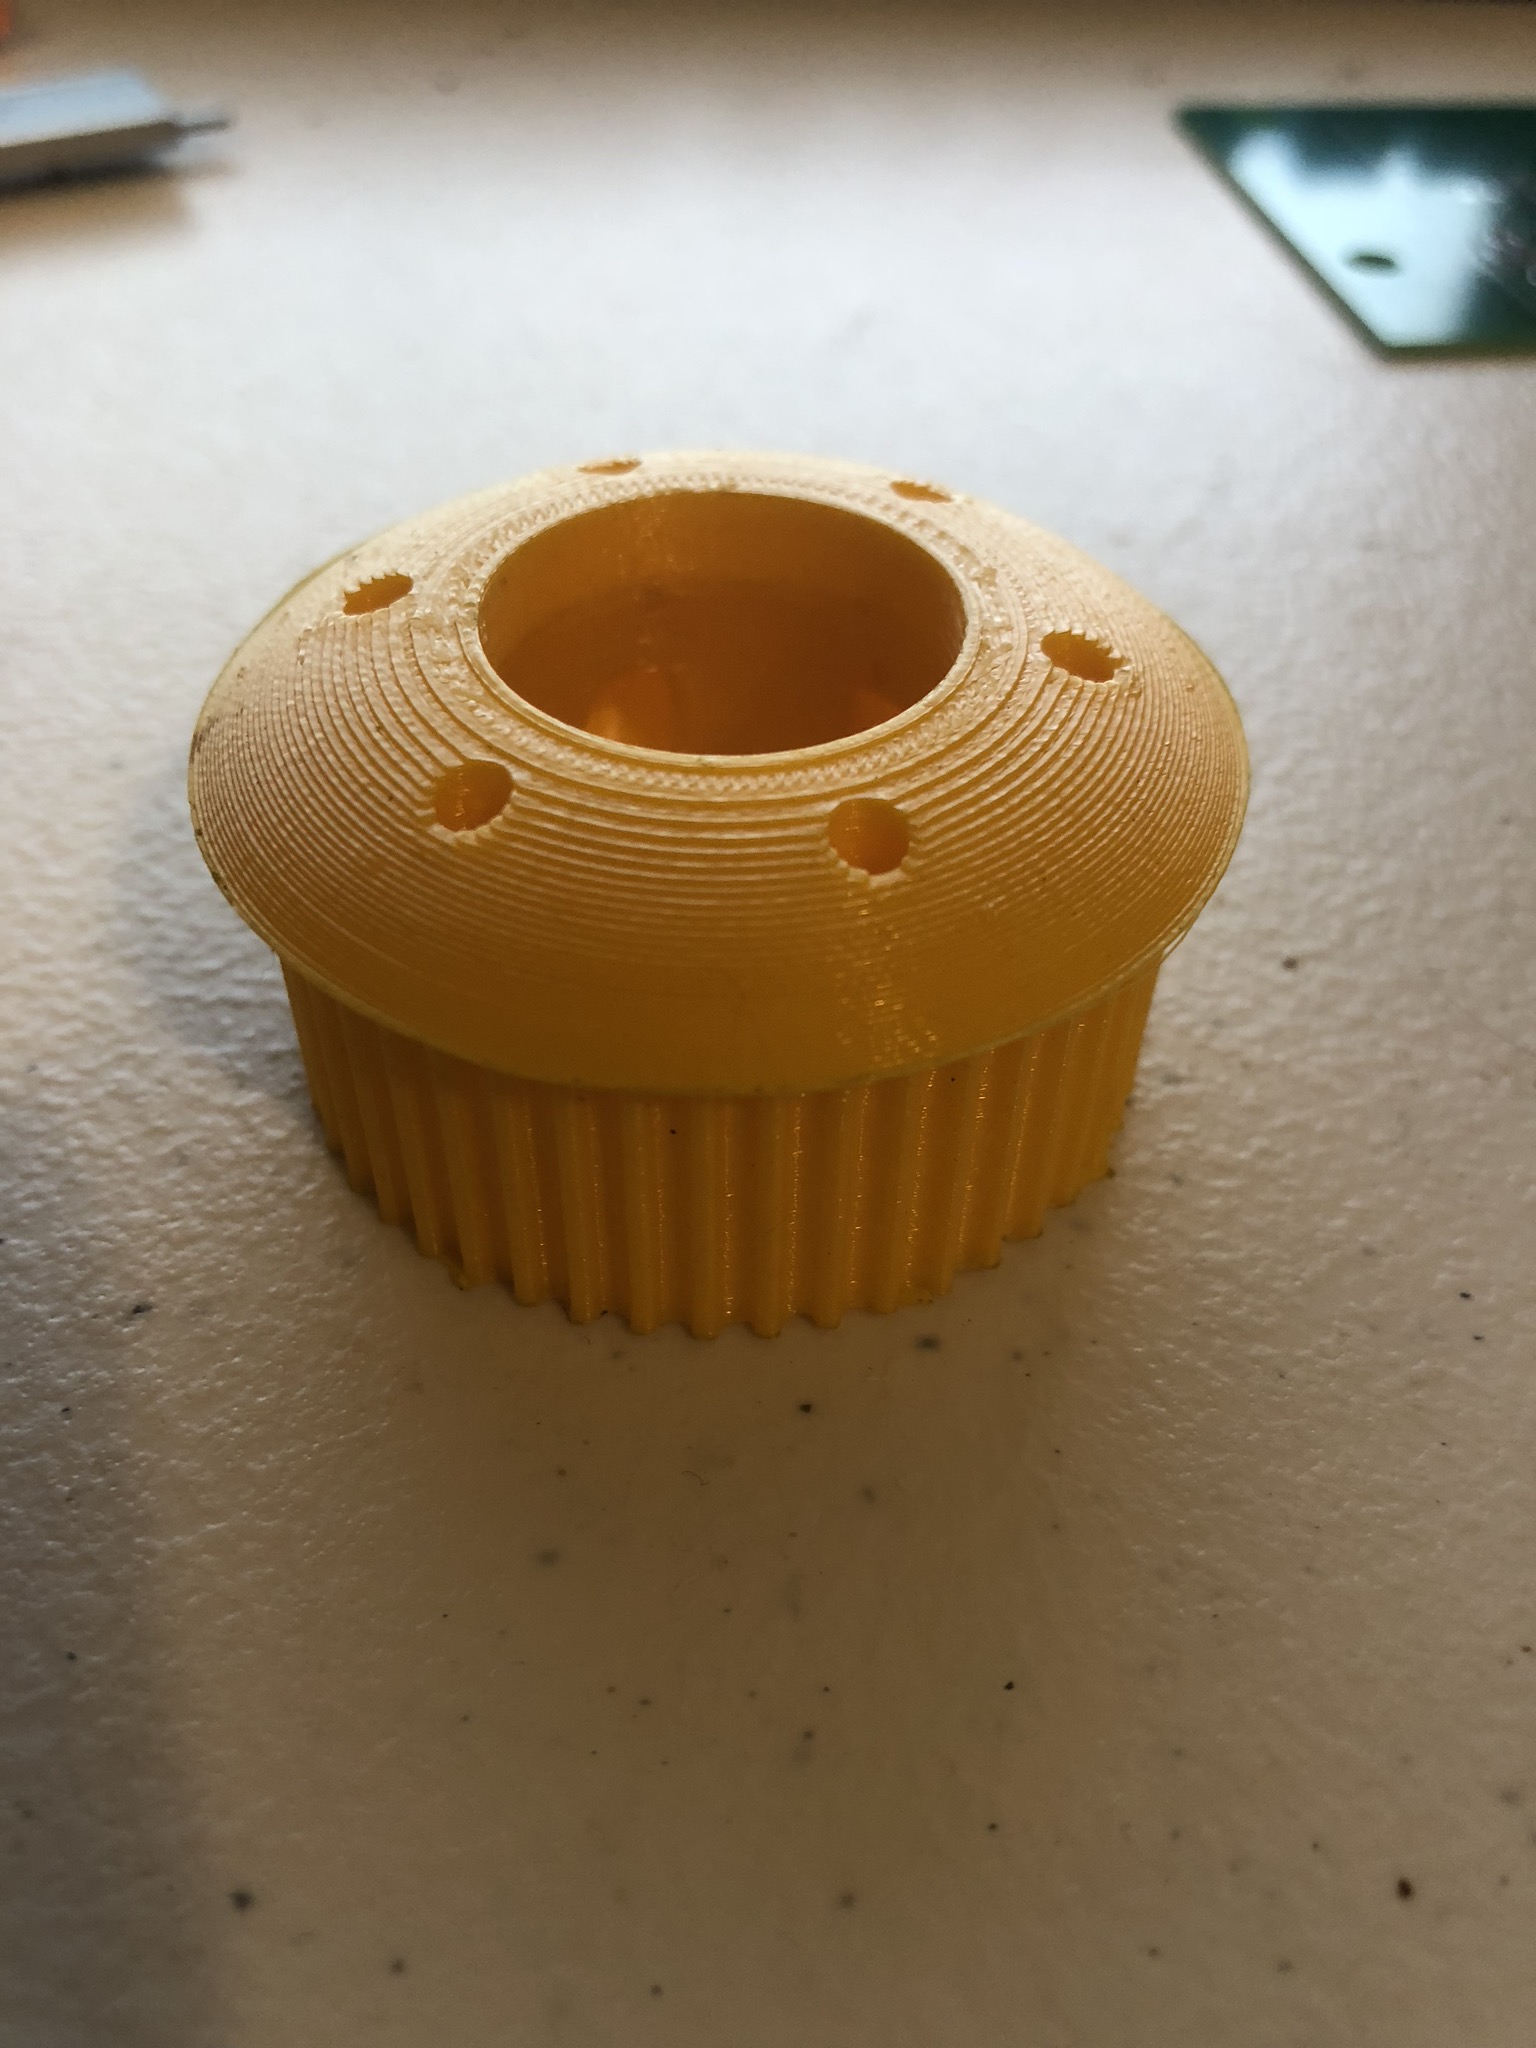
It took some iterations to get right, but here they are.


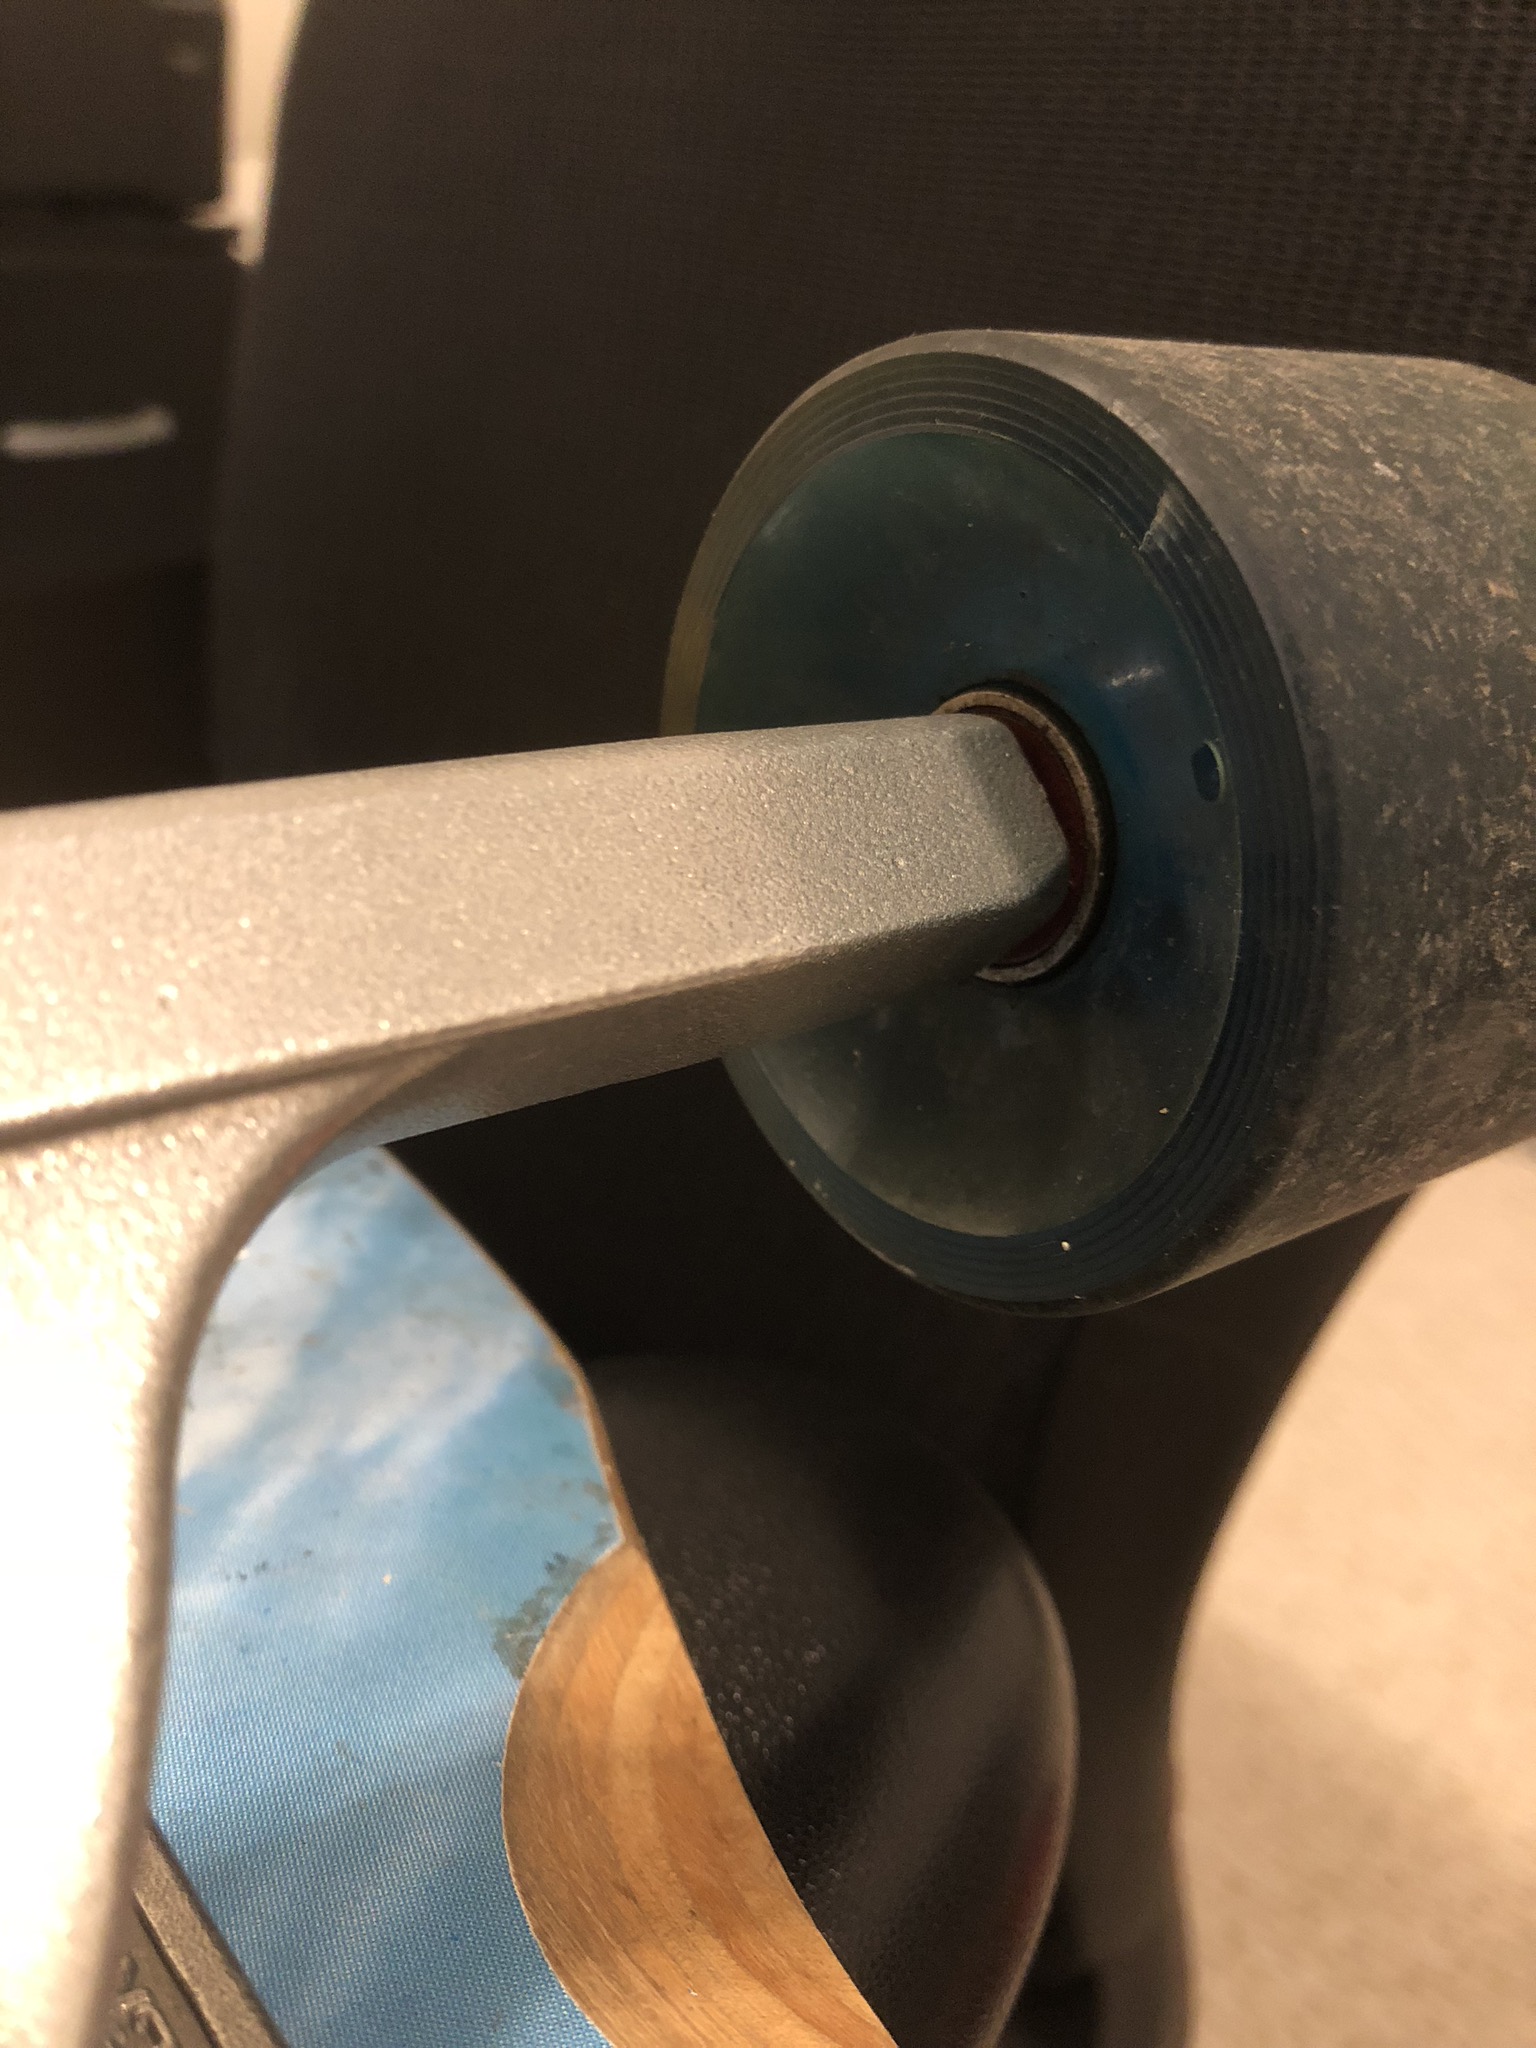
The pulley pictured is in PLA but the final version was in nylon. It fits to my wheel nicely and I also printed a small dowel to temporarily connect it to the wheel’s bearing hole, which keeps it centered while I drill holes for the bolts. I also got new trucks solely because the axle was relatively square which made it much easier to mount the bracket too.
Here’s everything put together.


After riding it for a while, I haven’t noticed any problems with the nylon parts. I use the same timing belts that the Boosted Board uses and they fit snug in the custom pulley. The parts were printed at about 95% infill to get maximum strength.
Nuts and bolts used
The nylon motor bracket is held in place using 4-5 set screws. I left a ~5.7 mm hole in the 3D printed part and then tapped the hole by hand using a M6 tap. The set screws hold up surprisingly well in tapped nylon. (As a side-note, I’ve found that Kodiak is a pretty good brand to use on Amazon for taps, bits, endmills, etc.).
The pulley was bolted to the wheel using these nuts and bolts. It’s important to use nylon insert lock nuts or they’ll definitely come loose. Also should be corrosion resistant.
Improvements
The board works pretty well but there are some definite improvements to make.
Belt slippage
The current 15mm wide, 3mm pitch timing belt isn’t enough to transfer the full torque of the motor. So if you apply enough throttle, the belt will slip. This isn’t too much of a problem and these belts are designed to slip. It also acts as a torque limit to protect you from applying too much torque by accident and falling off.
But sometimes it’s annoying when you’re not accelerating as much as you’d like. And hills can sometimes be tough. I think the best way to solve this is to use two speed controllers and two motors for the two back wheels. Twice as much torque would be plenty. The boosted board also uses two motors.
Battery management
Battery management and protection is really important. Namely, you need to ensure none of the cells over discharge, which can happen before the speed controller can detect the overall battery voltage going low. Over-current isn’t as much of a problem since the speed controller will limit the overall current. But redundant protections isn’t a bad thing to have.
It would also be nice to have a proper charging circuit. Right now I’m just using a special Li-ion battery charger that will charge and balance the cells. If I added a circuit to handle charging, I could just use a regular barrel jack or even a USB cable to charge it.
When I get around to this, I’ll make another post.
DIY
If you’re interested in making a similar build, hit me up! I’m happy to answer questions or share designs.
